
Random Test Data Generator Tutorial Part 1: Complete Beginner's Guide to Generating Fake Data
Learn how to use the Random Test Data Generator to create realistic fake data for testing. Step-by-step guide with examples for JSON, CSV, SQL, and XML formats.
Random Test Data Generator Tutorial Part 1: Getting Started
Welcome to our comprehensive tutorial series on the Random Test Data Generator! This powerful, free tool helps developers, testers, and data analysts create high-quality, realistic fake data for various purposes including database population, UI testing, and API development.
What You'll Learn in This Series
- Part 1: Basic setup and generating your first dataset
- Part 2: Advanced field configuration and customization options
- Part 3: Export formats, constraints, and professional workflows
Prerequisites
- Basic understanding of data formats (JSON, CSV, SQL, XML)
- No programming experience required
- Modern web browser (Chrome, Firefox, Safari, Edge)
Objective
By the end of Part 1, you'll be able to:
- Generate basic test data with default fields
- Export data in multiple formats
- Understand the tool's interface and core features
Step 1: Understanding the Interface
The Random Test Data Generator interface consists of three main sections:
!Main interface overview with default fields
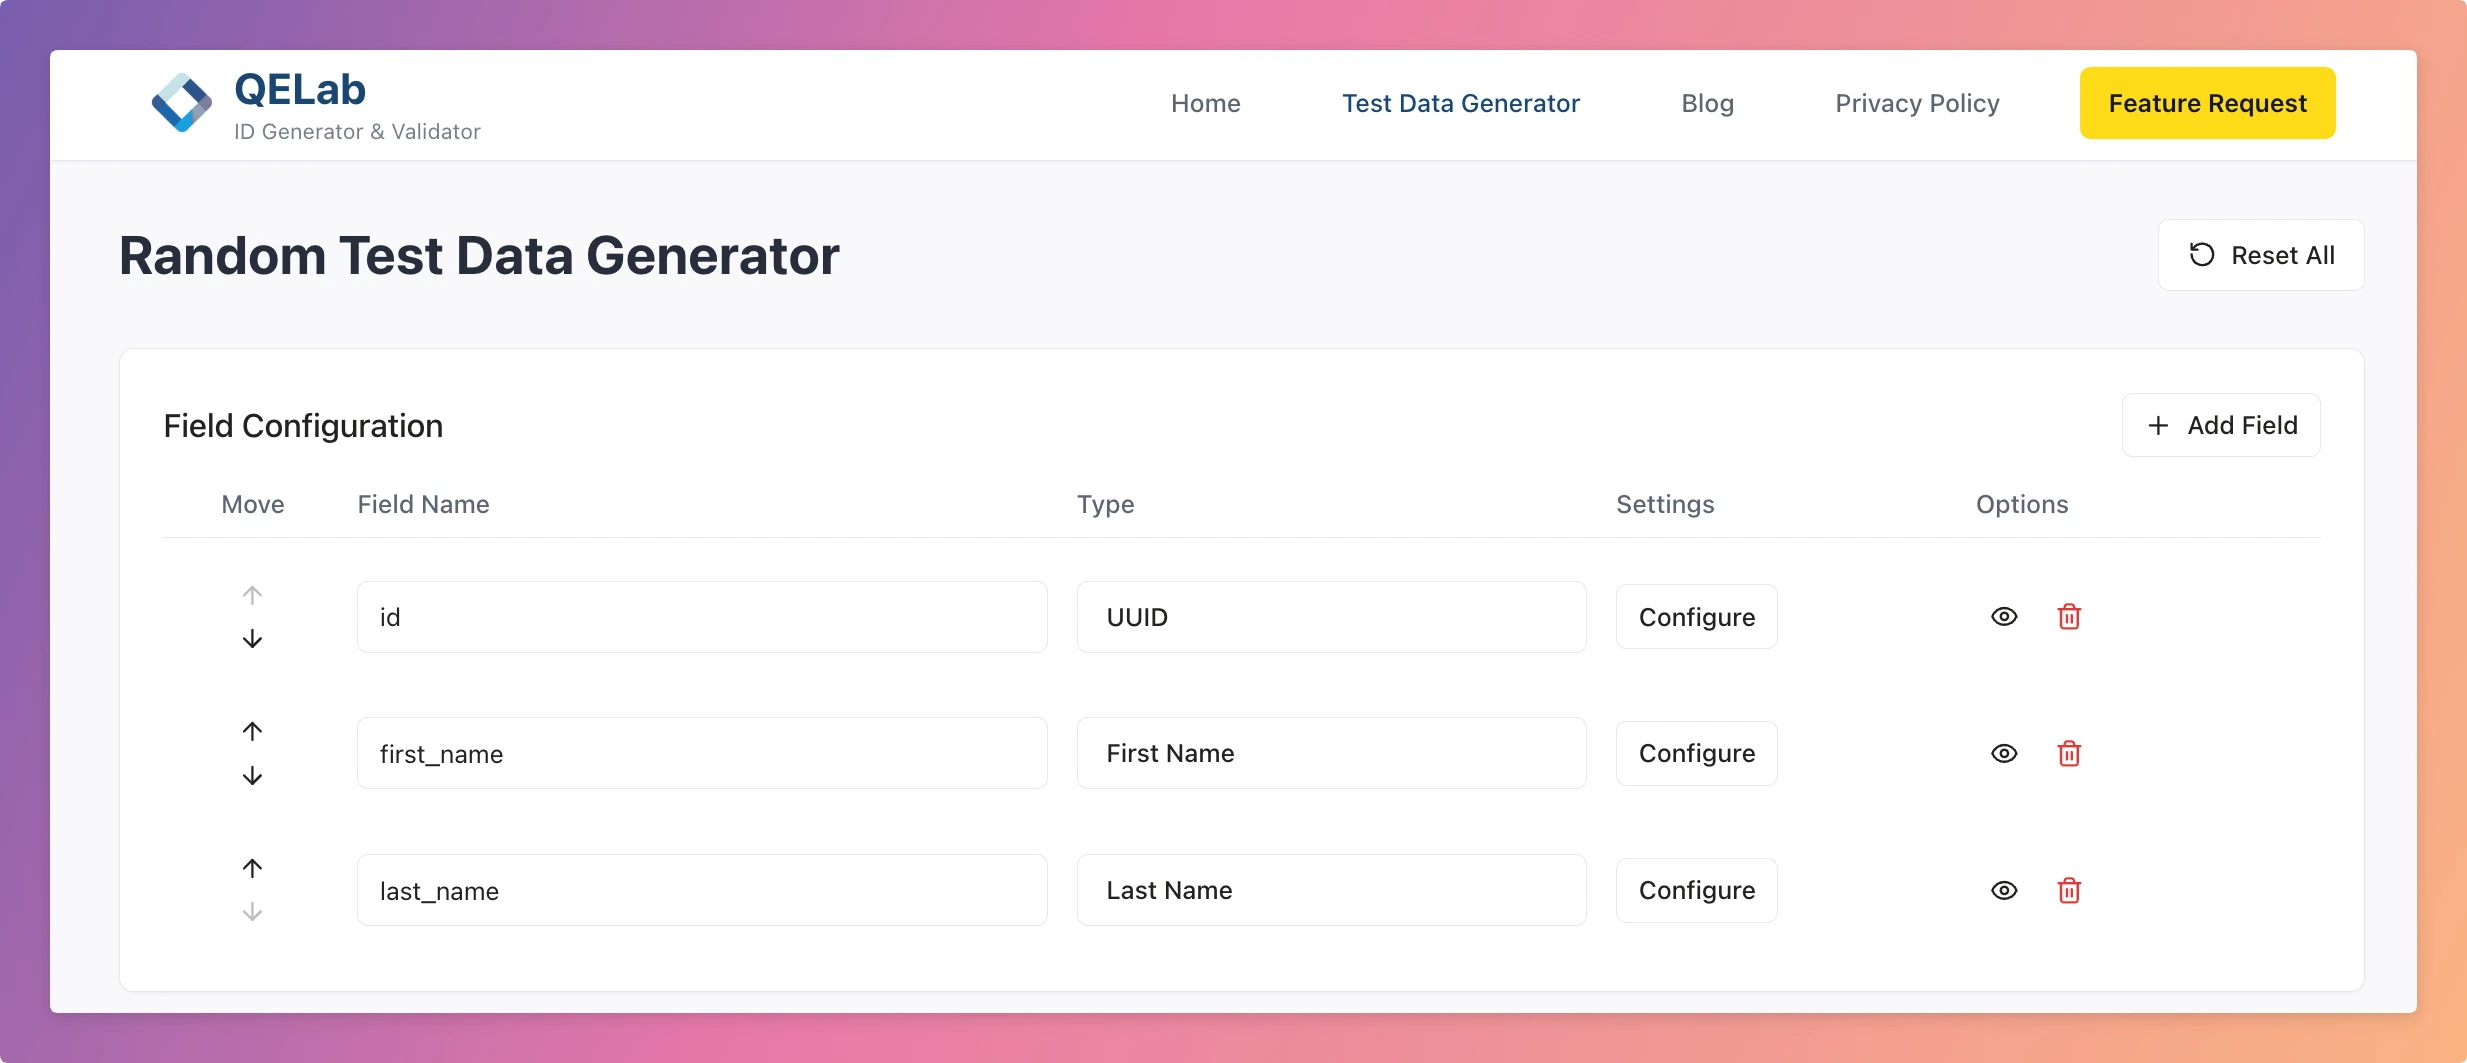
Step 2: Your First Data Generation
Default Setup
The tool comes with three pre-configured fields but soon you will have an option to store default setup by logging into the portal:
- id: UUID (Unique identifier)
- first_name: First Name
- last_name: Last Name
Generate Basic Data
Expected Result: You'll see 10 records with unique IDs and realistic American names.
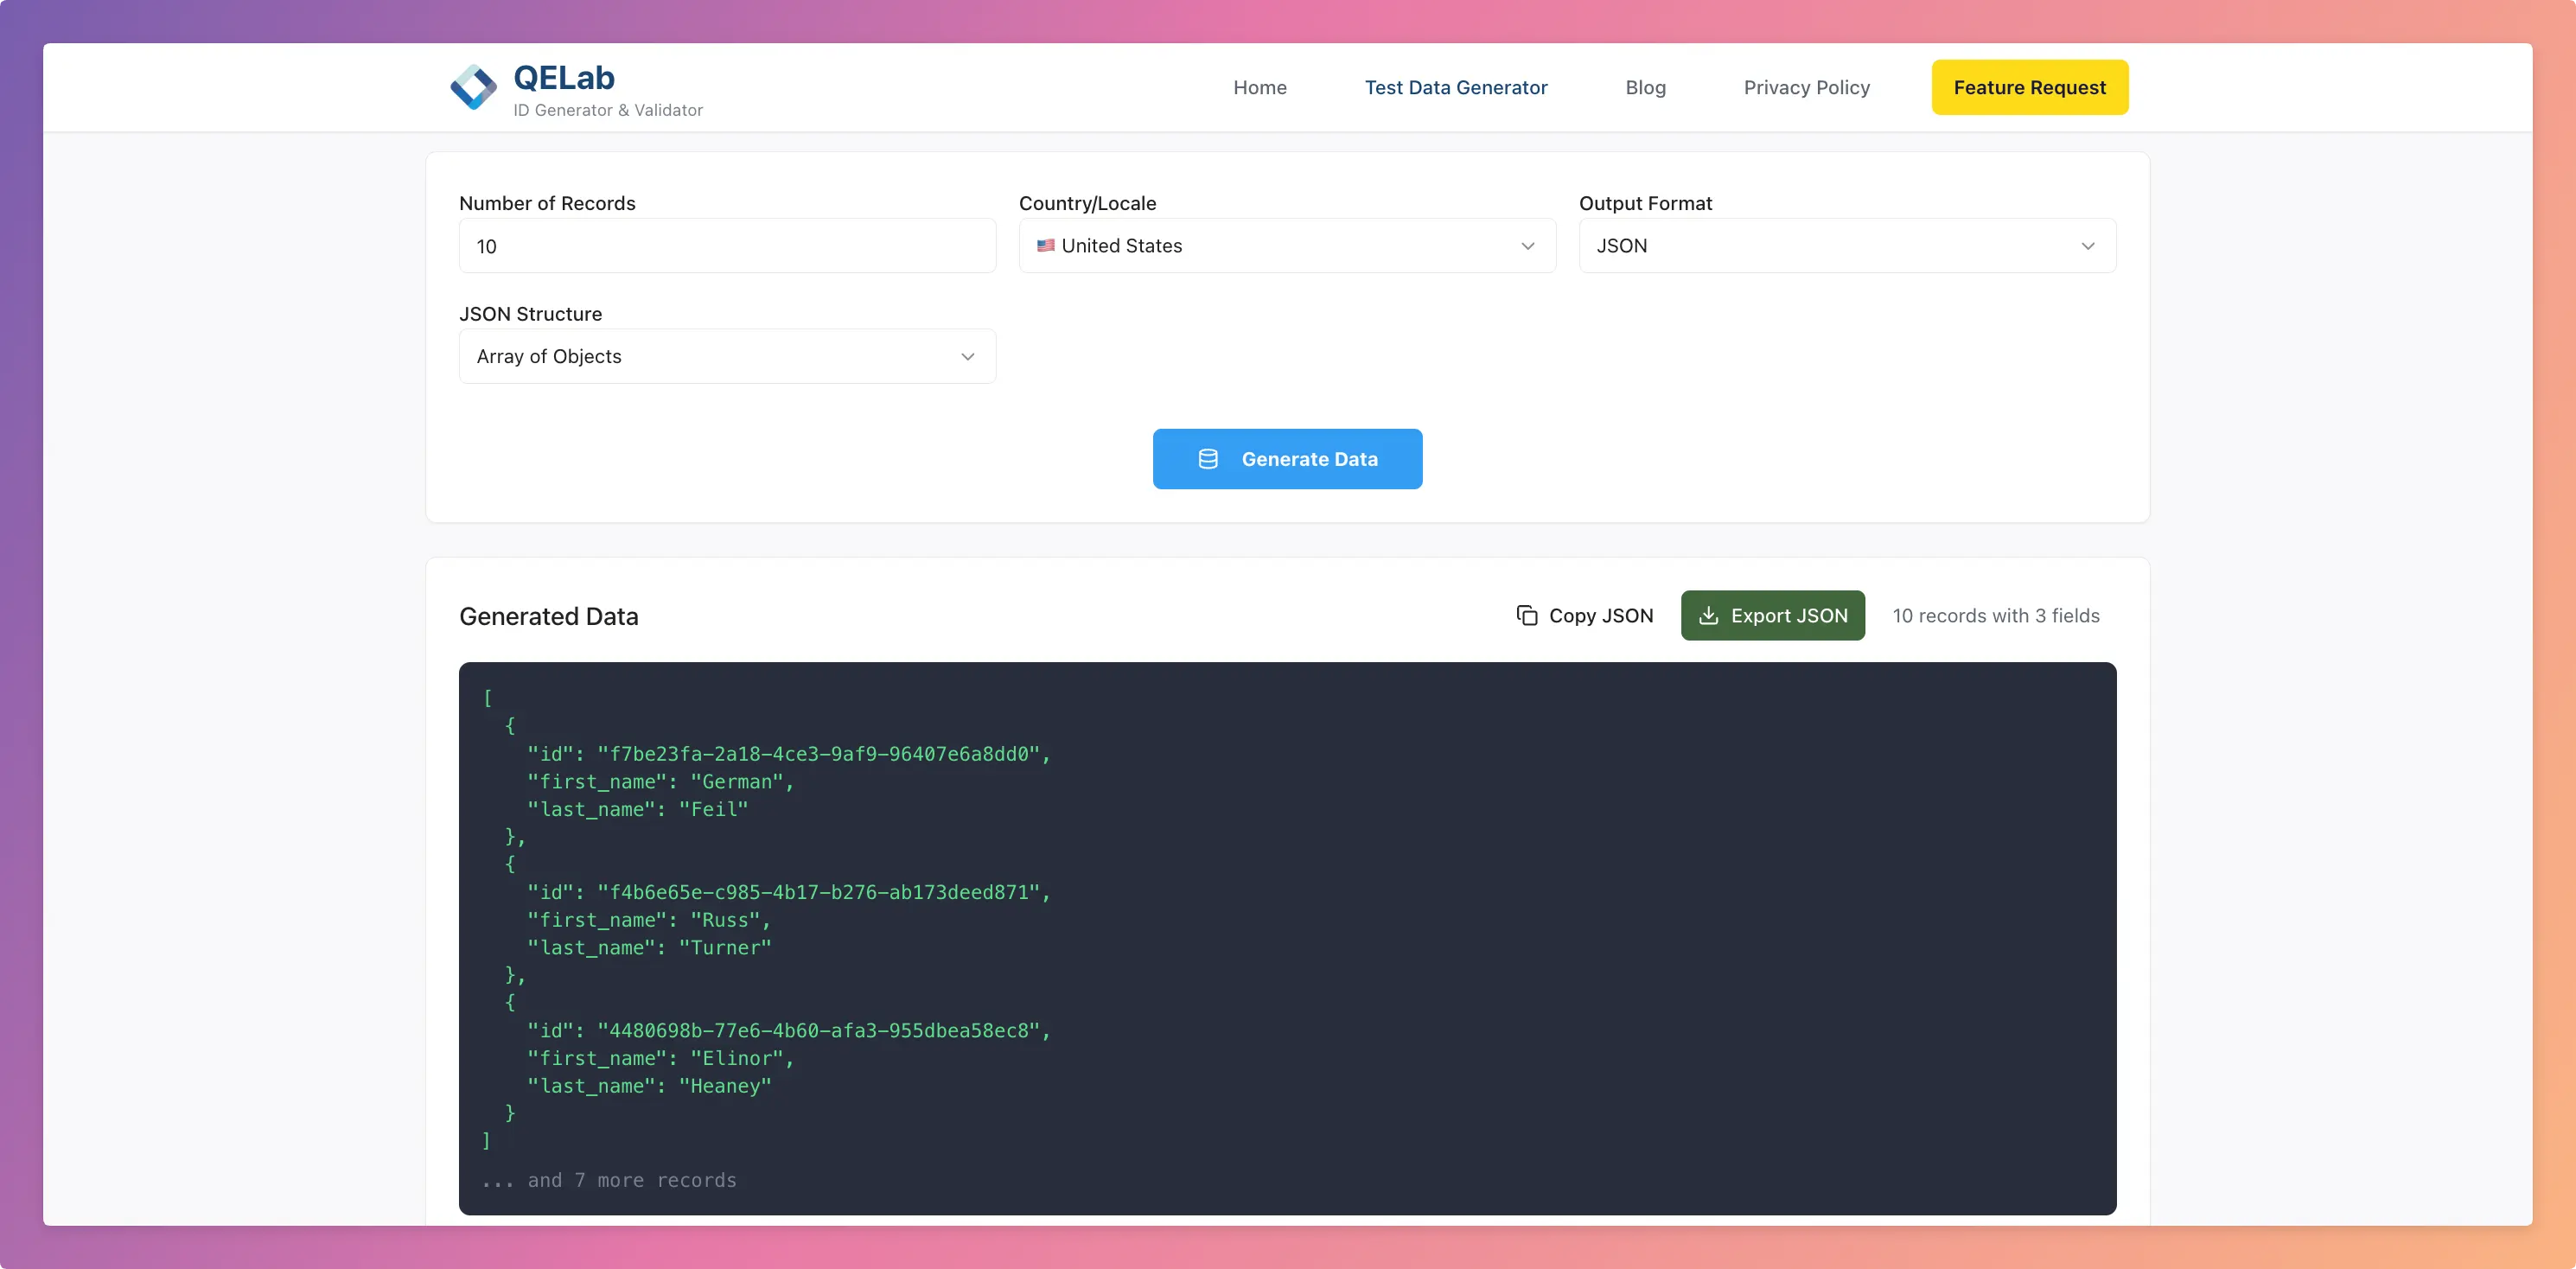
Step 3: Exploring Output Formats
JSON Format:
We support two type of JSON formats i.e. Array of Objects and Key Value pairs
[
  {
    "id": "123e4567-e89b-12d3-a456-426614174000",
    "first_name": "John",
    "last_name": "Smith"
  }
]
CSV Format:
Switch the output format to CSV and regenerate. You can separate columns using Comma, Pipe, Semicolon or Tab.
id,first_name,last_name
"123e4567-e89b-12d3-a456-426614174000","John","Smith"
SQL Format
If you choose SQL Format, you can specify table name so that generated query can be updated.
CREATE TABLE fake_data (
  id VARCHAR(255),
  first_name VARCHAR(255),
  last_name VARCHAR(255)
);INSERT INTO fake_data (id, first_name, last_name)
VALUES ('123e4567-e89b-12d3-a456-426614174000', 'John', 'Smith');
Step 4: Adding More Fields
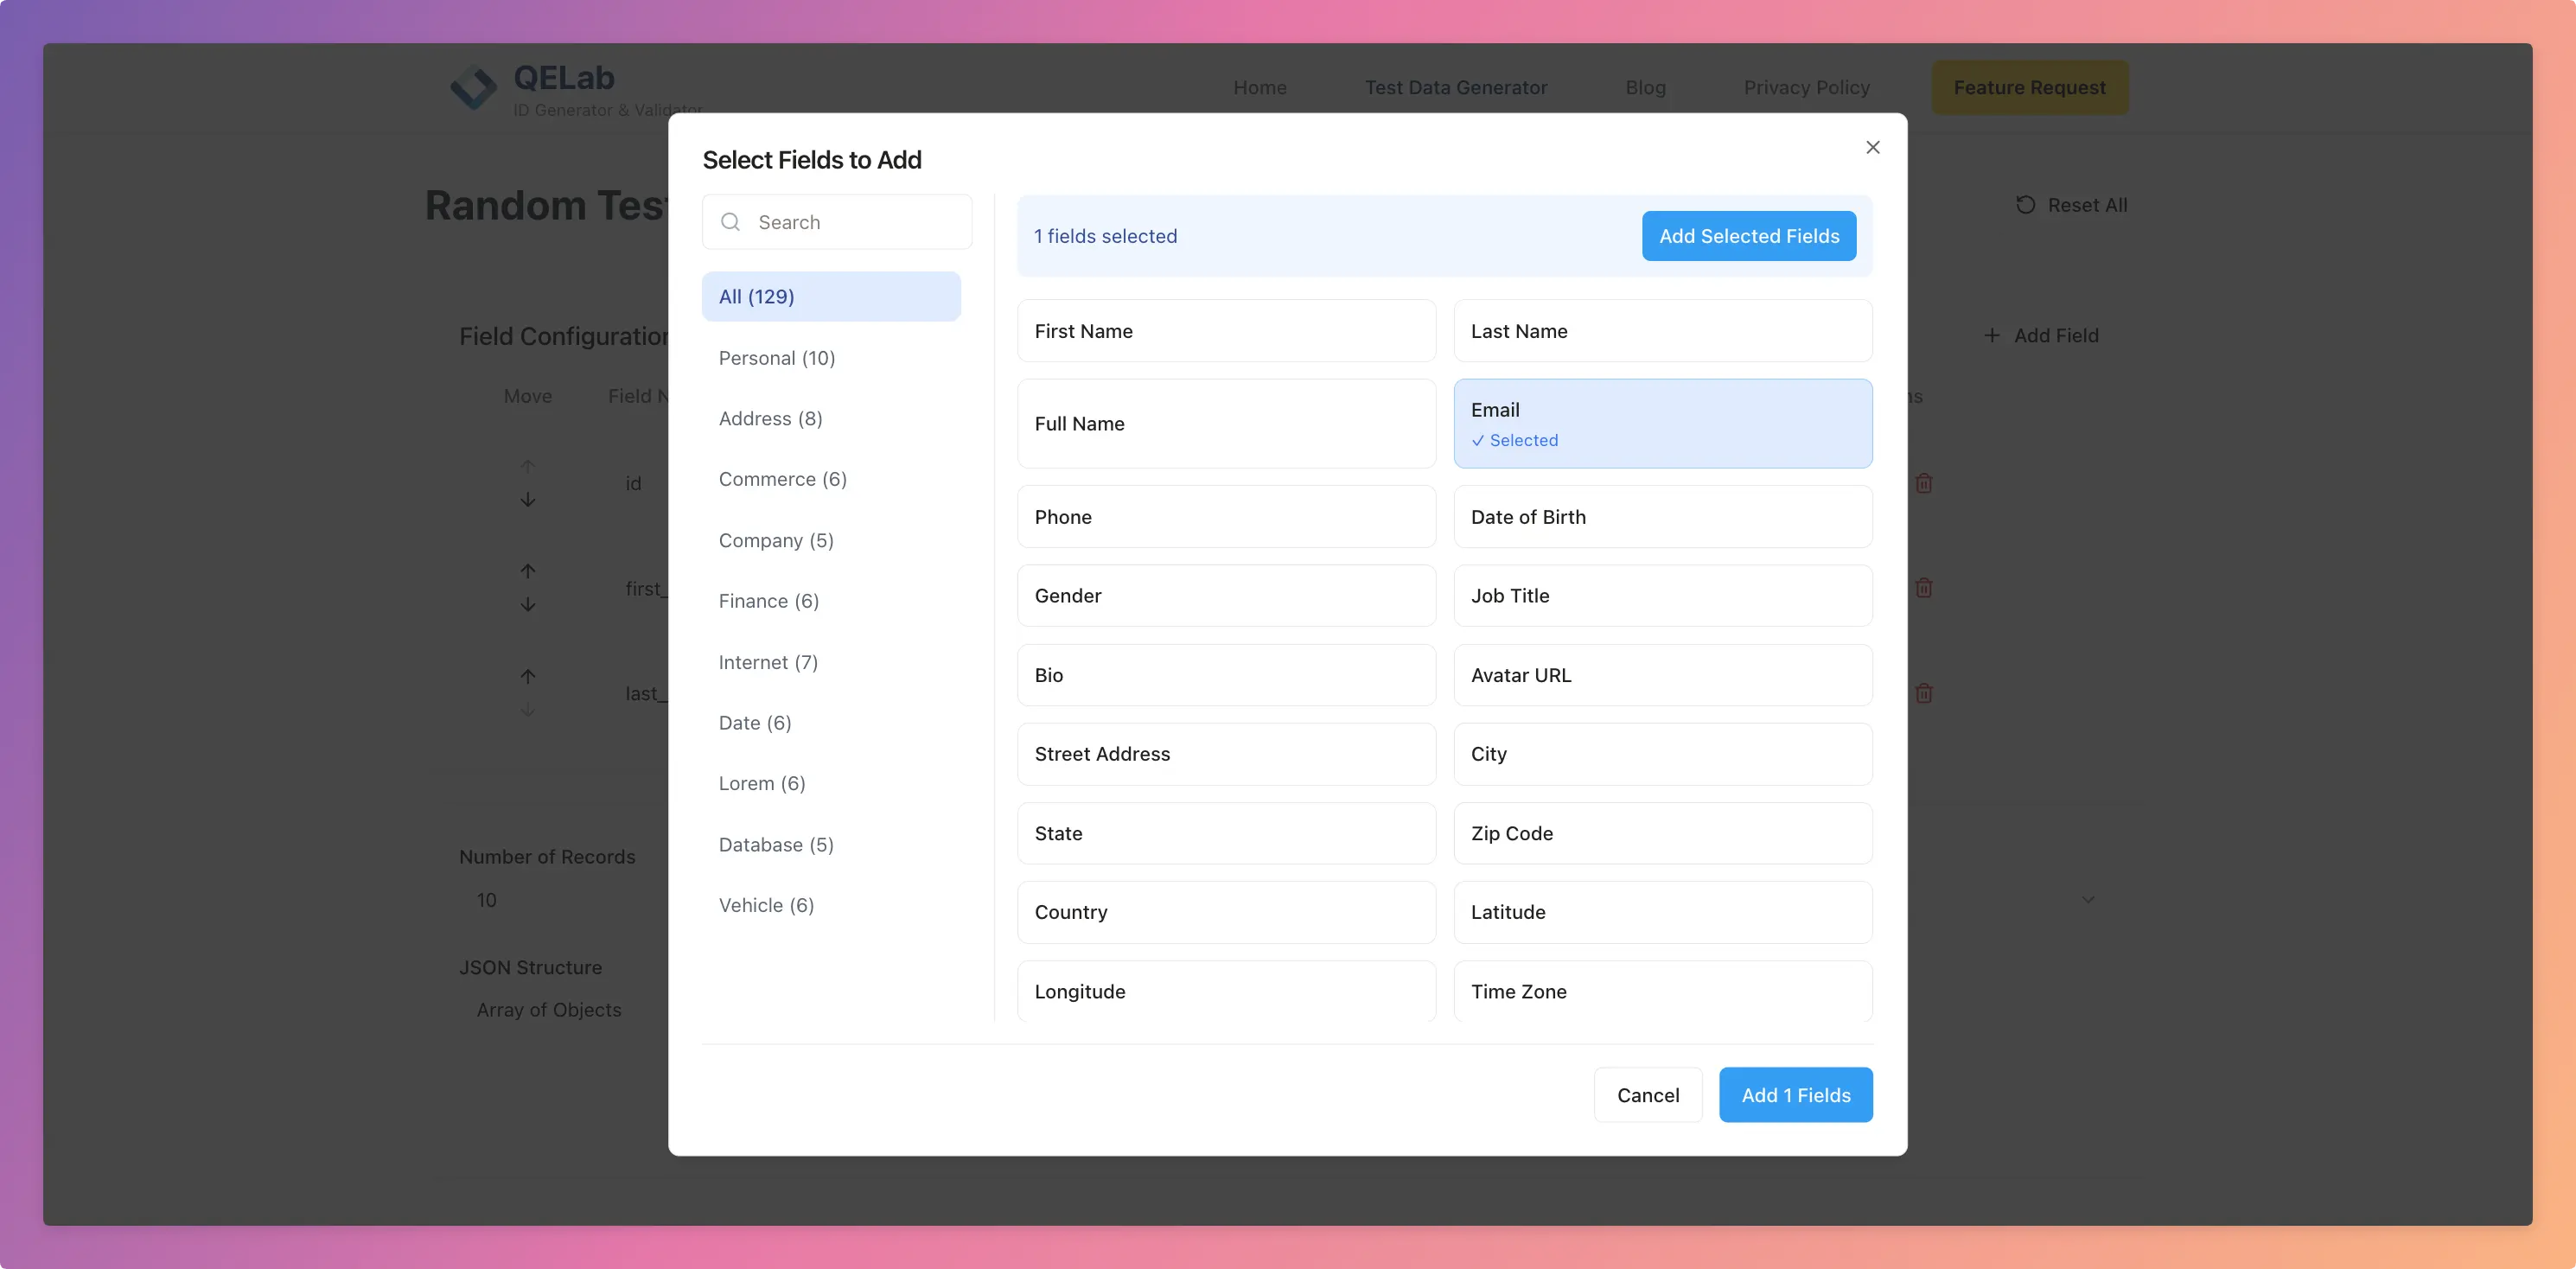
Step 5: Exporting Your Data
test-data-2024-01-15.json)Common Use Cases for Part 1
- Database Testing: Generate user records for testing database performance
- UI Development: Create realistic data for frontend components
- API Testing: Generate payload data for API endpoint testing
- Demo Data: Create sample data for presentations or prototypes
Try It Yourself
Ready to start generating test data? Visit our Random Test Data Generator and follow along with this tutorial.
Summary
In Part 1, you learned:
- How to navigate the Random Test Data Generator interface
- Generate basic datasets with default fields
- Export data in JSON, CSV, SQL, and XML formats
- Add new fields from the field library
Next Up: In Part 2, we'll dive deep into field customization, constraints, and advanced configuration options to create more sophisticated test datasets.
---